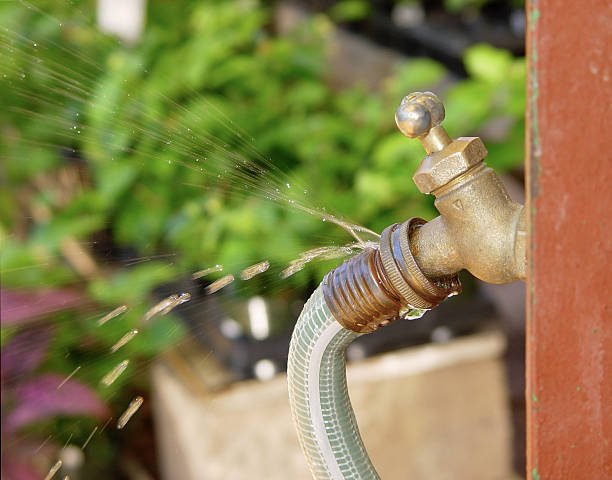
Fixing a leaky outdoor faucet is an easy and affordable task that can save you water and money. All you need are some basic tools and a bit of know-how. This article will guide you through the simple steps to repair and restore your leaky outdoor faucet to its former functionality.
Our guide makes repairing your leaky outdoor faucet easy and cost-effective. We’ll help you identify the type of faucet and provide a checklist of tools and materials needed. We’ll show you how to shut off the water supply, locate the problem, replace faulty parts, and test the faucet for proper functioning. Our step-by-step instructions and use of the right tools and materials will ensure your faucet works like new. Save money on your water bill and follow our comprehensive guide today.
Identifying the Type of Faucet You Have
Identify the type of faucet you have. Look at the shape of the handle: a round knob for a ball faucet, an up-down lever for a cartridge faucet, and a side-to-side lever for a compression faucet. Also, consider the age of the faucet – older fixtures are more likely to be compression faucets.
It’s important to identify your faucet type before attempting any repairs. Different types require different repair methods. For instance, a ball faucet needs several small parts replaced, while a cartridge faucet only requires a new cartridge. By identifying your faucet, you can save time and money by knowing what parts you need and how to fix the issue.
Gathering the Necessary Tools and Supplies
You’ll need a wrench, pliers, screwdrivers, a washer kit, Teflon tape, and a bucket. Use the wrench to remove the faucet handle and loosen the stem nut. Pliers can help with the retaining clip, and screwdrivers can remove screws. The washer kit has washers and O-rings for replacement, and Teflon tape seals leaks. A bucket catches any water leaks.
Shutting Off the Water and Disassembling the Faucet
Start by turning off the water supply and disassembling the faucet using the necessary tools. Locate the shut-off valve near the faucet and turn it clockwise to stop the water flow. Remove the handle and any decorative caps, then use a screwdriver to remove the screw and pull off the handle. Use pliers or a wrench to remove the packing nut and inspect the stem for damage or wear.
Replacing Faulty Parts
Once you have disassembled the faucet, identify and replace any faulty parts that you find during your inspection. The most common cause of a leak is a damaged or worn-out rubber washer located at the end of the stem. To replace it, unscrew the stem, remove the old washer, insert the new one, and screw the stem back in securely. Avoid overtightening, as it can damage the stem.
If the washer isn’t the issue, you may have to change the stem or cartridge. This involves a bit more work, but it’s still easy. Remove the old stem or cartridge from the faucet and note its position. Install the new one the same way and screw it in place. Reassemble the faucet and turn on the water supply. Test the faucet to confirm the leak is fixed.
Testing and Reassembling the Faucet
After replacing faulty parts, test and reassemble the faucet to ensure it’s fully functional. Turn on the water supply and check for leaks around the faucet base. If there are no leaks, test the faucet by turning it on and off. If the water flow is inconsistent or there are strange noises, there may still be an issue that needs to be fixed.
To reassemble the faucet, put the handle back and tighten any screws or bolts. Ensure all connections are tight and turn the water supply back on. Check for leaks regularly and fix them quickly to avoid further damage. Enjoy a leak-free outdoor faucet!