Are you experiencing issues with your copper plumbing and looking for a solution? Learning how to repair copper plumbing can save you time and money by eliminating the need to hire a professional plumber. First, we will discuss how to identify common issues in copper plumbing.
From leaky pipes to corroded fittings, understanding the problem is crucial before attempting any repairs. Once you have identified the case, we will provide you with a comprehensive list of tools and materials needed for the repair. The right equipment will ensure a smooth and efficient repair process.
So, let’s begin your journey to becoming a DIY copper plumbing repair expert!
Identifying Common Issues in Copper Plumbing
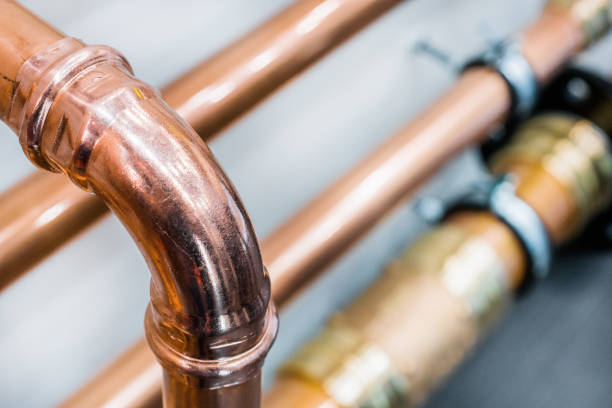
If your copper plumbing is old and worn, you might notice leaks, corrosion, or discoloration in the pipes. These are common issues that can occur over time due to the natural wear and tear of the plumbing system. Leaks can occur when the copper pipes develop small holes or cracks, allowing water to seep out.
Corrosion happens when the copper pipes react with the water or other substances, causing the pipes to deteriorate. This can lead to weakened pipe areas, increasing the risk of leaks. Discoloration in the pipes can be a sign of mineral buildup or rust, which can also contribute to the deterioration of the plumbing system.
To identify these common issues in your copper plumbing, you can visually inspect the pipes for any signs of leaks, corrosion, or discoloration. Look for small puddles of water or damp spots around the pipes, which could indicate a leak. Check for any green or white powdery substances on the surface of the pipes, as this could be a sign of corrosion.
Discolored areas on the pipes, such as brown or red spots, may indicate mineral buildup or rust. Additionally, if you notice a decrease in water pressure or an increase in water bills, it could indicate a hidden leak in the plumbing system. By identifying these common issues, you can take the necessary steps to repair and maintain your copper plumbing.
Tools and Materials Needed for Copper Plumbing Repair
To successfully fix copper pipes, gather the necessary tools and materials. You’ll need a few essential items to complete the repair. Firstly, you’ll need a pipe cutter to cut through the damaged section of copper pipe. This tool will ensure a clean and precise cut, allowing for a proper fit when installing the replacement piece.
Additionally, you’ll need an emery cloth or sandpaper to clean the ends of the pipes before soldering. This removes any dirt, corrosion, or old solder, ensuring a strong and secure bond. In addition to the tools, you’ll also need specific materials for the copper plumbing repair.
One essential material is flux, used to clean and prepare the copper surfaces for soldering. Flux helps remove any oxidation and provides a clean surface for the solder to adhere to. Another essential material is solder, which creates a watertight seal between the pipes.
It’s recommended to use lead-free solder for safety purposes. Lastly, you’ll need replacement copper pipes or fittings, depending on the extent of the damage. These materials will allow you to replace the damaged section and restore the plumbing system to its original condition.
Step-by-Step Guide to Repairing Copper Plumbing
Get ready to fix those pesky copper pipes with this easy step-by-step guide! Here’s what you need to do:
- **Assess the damage:** The first step in repairing copper plumbing is to assess the damage. Look for any leaks, cracks, or damage to the pipes. This will help you determine the extent of the repair needed and what tools and materials you’ll need to gather.
- **Shut off the water:** Before you start any repairs, shutting off the water supply to the affected area is important. This will prevent further damage or flooding while you fix the pipes. Locate the main water shut-off valve and turn it off.
- **Prepare the pipe:** Once the water is shut off, you can prepare the damaged pipe for repair. Use a pipe cutter to remove the damaged section of pipe. Make sure to cut the pipe at a 90-degree angle to ensure a proper fit for the replacement piece. Clean the ends of the remaining pipes with a wire brush to remove any debris or corrosion.
By following these simple steps, you’ll be able to quickly repair your copper plumbing. Remember to take your time and work carefully to ensure a proper and long-lasting fix.