Is your outdoor faucet leaking and causing a water puddle in your yard? Don’t worry. Repairing it is easier than you think! here is the detailed guide on how to repair a leaky outdoor faucet and by following these simple instructions, you can resolve the issue and prevent further water wastage. So, let’s dive in and get your faucet back to its leak-free state!
First, you’ll need to identify the source of the leak. Is it coming from the handle, the valve, or the connection between the faucet and the pipe? Once pinpointed the problem area, you can proceed with the repair process.
Don’t worry if you’re unfamiliar with plumbing tasks – this guide will walk you through everything. With just a few basic tools and some spare time, you can fix your leaky outdoor faucet and save money on water bills. So, let’s roll up our sleeves and get started on this DIY project!
Identifying the Source of the Leak
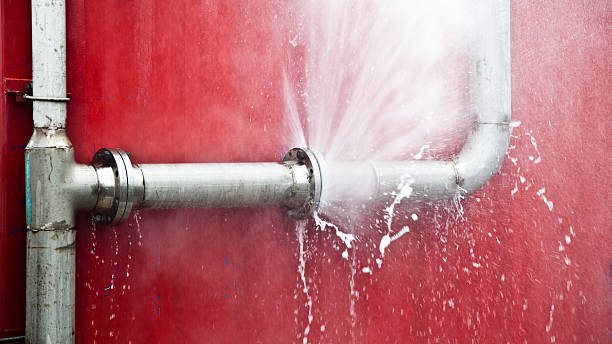
You can start by visually inspecting the outdoor faucet to identify where the leak is coming from. Look for common causes such as loose or damaged fittings, worn-out washers, or cracks in the faucet body.
Check if the leak is occurring at the spout or around the handle. Examining the hose connection and ensuring it’s tightly secured is also important.
To prevent leaks in the future, turn off the faucet completely and drain any remaining water before winter. Additionally, avoid over-tightening the faucet handle, as it can cause damage.
Regularly inspecting and maintaining your outdoor faucet will help prevent leaks and ensure it functions properly for a longer period.
Step-by-Step Repair Process
Start by turning off the water supply to the problematic outdoor faucet. This is an important step to ensure your safety and prevent any further damage.
Once the water supply is turned off, you can proceed with the repair process. Common causes of outdoor faucet leaks can include worn-out washers, damaged o-rings, or loose connections. To fix the leak, start by removing the faucet handle using a screwdriver.
Next, use a wrench to loosen the packing nut and remove it. Take out the stem assembly and inspect the washers and o-rings for any signs of damage. If they’re worn out or damaged, replace them with new ones.
Additionally, check for any loose connections and tighten them if necessary. After completing the repairs, reassemble the faucet and turn on the water supply to check for any leaks. To prevent future outdoor faucet leaks, disconnect and drain the hose during winter to avoid freezing and use a hose bib cover to protect the faucet from cold temperatures.
Regularly inspect and maintain the faucet by lubricating the moving parts and checking for any signs of wear and tear. Following these tips lets you keep your outdoor faucet leak-free and functioning properly.