Are you looking to upgrade your bathroom and install a new shower? If so, you’ve come to the right place! Following these step-by-step instructions, you can confidently tackle this project and enjoy the benefits of a fully functional shower in your home.
Before you dive into the installation process, it’s important to do some planning. Consider the layout and location of your shower and the necessary permits and regulations in your area. Once you have a clear plan, gather all the necessary materials and tools for the job.
From pipes and connectors to wrenches and sealants, having everything ready will make the installation process much smoother. With the right preparation and proper guidance, you’ll soon be on your way to enjoying a refreshing shower in your newly upgraded bathroom. So, let’s get started!
Planning the Shower Installation
Now you’re ready to start planning your shower installation, so grab a pen and paper, and let’s get started! The first step is to determine the location of your shower. Consider factors such as the proximity to existing plumbing lines and the overall layout of your bathroom.
It’s also important to measure the available space to ensure your shower fits comfortably. Once you have a clear idea of where you want your shower to be, sketch out a rough layout diagram. This will help you visualize the space and make any necessary adjustments before proceeding.
Next, you’ll need to decide on the type of shower system you want to install. There are various options, including traditional, handheld, and rain showerheads. Consider your personal preferences and needs when making this decision.
Additionally, consider whether you want to include extra features, such as body jets or a steam function. These choices will influence the plumbing requirements for your shower, so it’s important to consider them during the planning stage. By carefully considering the location and type of shower you want, you’ll be well on your way to a successful installation.
Choosing the Right Materials and Tools
To ensure a successful shower renovation, it’s crucial to carefully select the appropriate materials and tools for the task at hand. Regarding plumbing for a shower, you’ll need to consider the type of pipes and fittings that will work best for your specific needs. One common option is PVC pipes, which are durable, affordable, and easy to work with.
They come in various sizes, so choose the right diameter for your project. Additionally, you’ll need fittings such as elbows, tees, and couplings to connect the pipes and create a watertight seal. These fittings should also be made of PVC material for compatibility.
In addition to pipes and fittings, you’ll need some essential tools to complete the plumbing installation for your shower. A pipe cutter is essential for accurately cutting the PVC pipes to the desired length. A deburring tool is also necessary to remove any rough edges or burrs from the cut ends of the pipes.
This ensures a smooth and secure connection between the pipes and fittings.
Other tools you may need include:
- An adjustable wrench for tightening fittings.
- A tape measure for taking accurate measurements.
- A hacksaw for cutting through any existing pipes or materials that need to be removed.
By selecting the right materials and tools, you’ll be well-equipped to tackle the plumbing installation for your shower and achieve a successful renovation.
Connecting Pipes and Fixtures
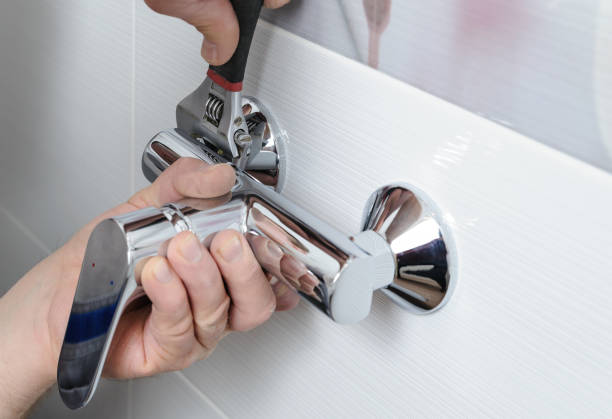
Ensure you have all the necessary connectors and joints to seamlessly connect your pipes and fixtures, creating a reliable and leak-free system to enhance your shower experience. Begin by connecting the pipes using pipe connectors, ensuring a tight fit. Apply the plumber’s tape to the threaded ends of the pipes to create a watertight seal.
Then, attach the shower fixture to the pipes using the appropriate connectors. Make sure to tighten them securely to prevent any leaks. Next, connect the drain pipe to the shower base or bathtub. Use a PVC drain pipe and fittings for a durable and long-lasting connection.
Apply the plumber’s glue to the pipe and fittings, then insert them into each other, twisting to create a secure bond. Allow the glue to dry according to the manufacturer’s instructions before testing for any leaks. Once all the pipes and fixtures are connected, turn on the water supply and check for any leaks.
If you notice any leaks, tighten the connections further or apply the plumber’s tape as needed. It’s essential to ensure that all connections are secure to prevent any water damage or future issues. By following these steps and using the proper connectors and joints, you can easily connect your pipes and fixtures to create a reliable and leak-free plumbing system for your shower.
Enjoy your newly installed plumbing and the enhanced shower experience it provides!